Dragon’s Dogma 2: Dark Arisen Spearhand Build
Plan Mystic Spearhand mobility, protection and stamina recovery without relying on outdated claims of effortless permanent shielding.

Quick Answer
Build a stamina plan before a shield loop. Reach an opening, protect the party when it matters and leave room to recover. Older claims that Mirour protection costs almost nothing conflict with the collected official update notes.
What changed in the shield advice?
The Capcom snapshot records increased stamina consumption for Mirour Vesture and reduced natural stamina recovery while its barrier is active. It also describes barrier-application adjustments. Those changes undermine a blanket claim of effortless continuous protection.
AlcastHQ remains useful for skill roles, but its older low-cost shield explanation is not current proof. Read the full description of the version of the skill you have equipped.
Which roles should my skills cover?
| Role | Options in the collected build | Question |
|---|---|---|
| Reposition | Dragoun’s Stabbe / Dragoun’s Foin | Can I reach the opening without exhaustion? |
| Protect | Mirour’s Vesture / Mirour’s Shelde | Does protection matter most right now? |
| Recover stamina | Thef’s Hond / Ravinour’s Hond | Is there a safe recovery opportunity? |
| Commit to offense | Wild Furie | Can I finish with stamina left? |
Treat this as a starting plan, not a tested maximum-damage rotation. Enemy, party and skill changes affect which action is useful next.
How should I prepare for a longer fight?
Watch what drains stamina and where ordinary attacks or repositioning give breathing room. For another close-range approach, compare the Thief plan.
Use the equipment checklist and preparation page. This guide has not been benchmarked in a current-version playthrough; exact timings and endgame rankings still need that verification.
Sources
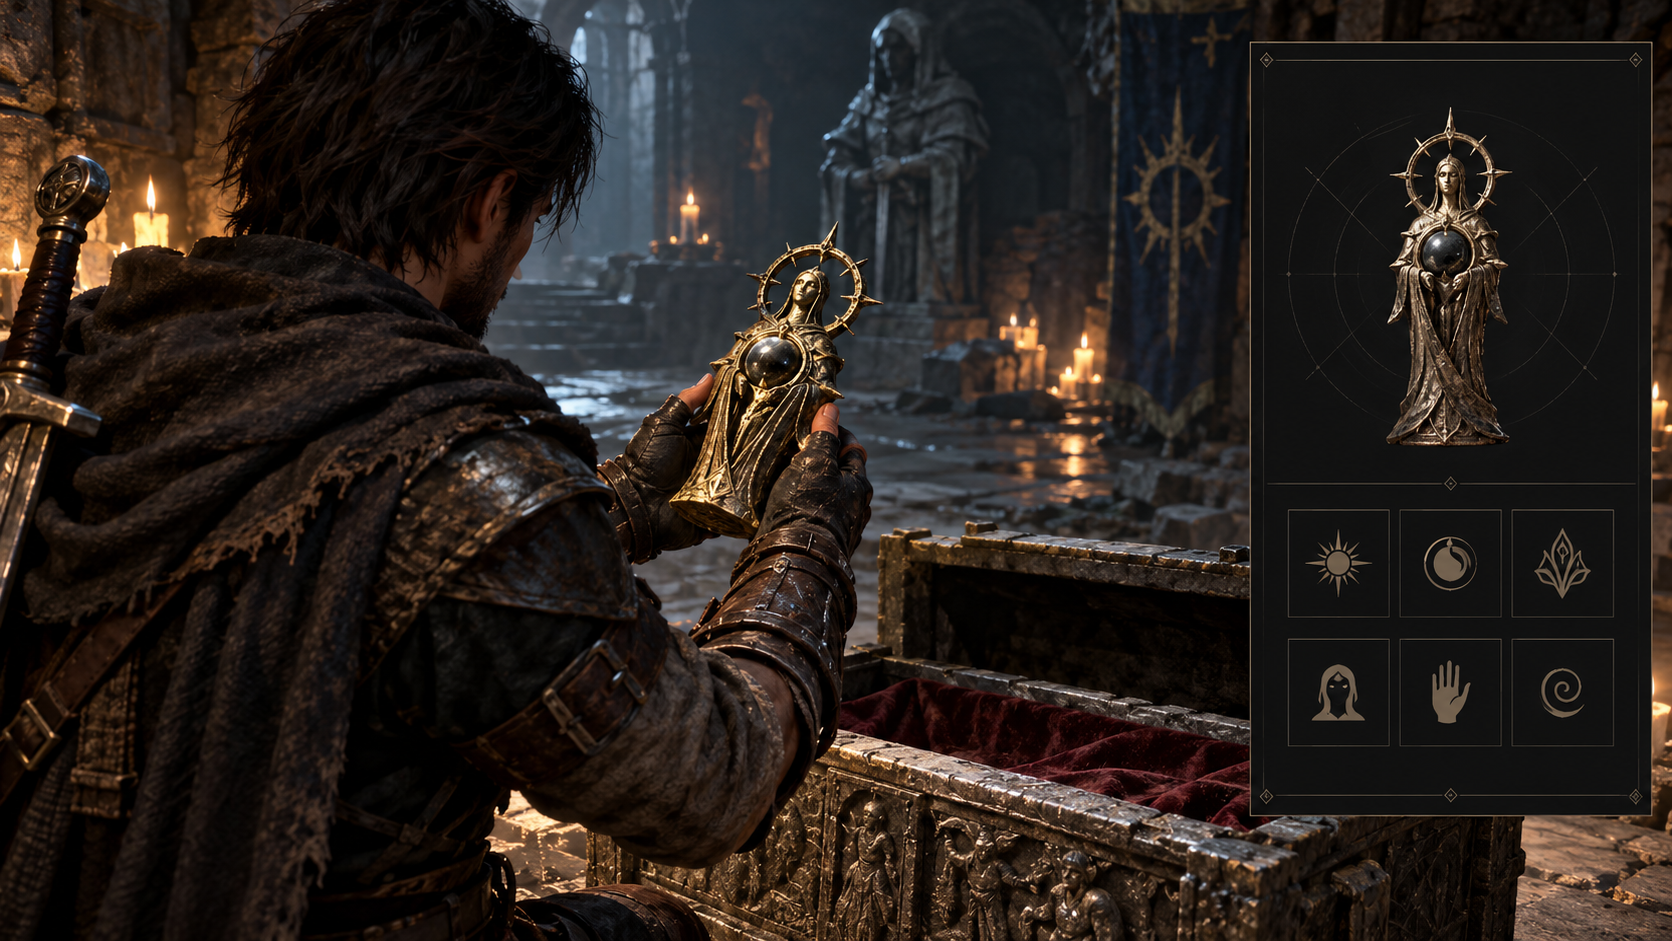
Dragon’s Dogma 2: Dark Arisen Relic Appraisal
Understand the relic expedition and appraisal loop, distinguish observed loot from guaranteed drops, and compare your next equipment upgrade.
Read Guide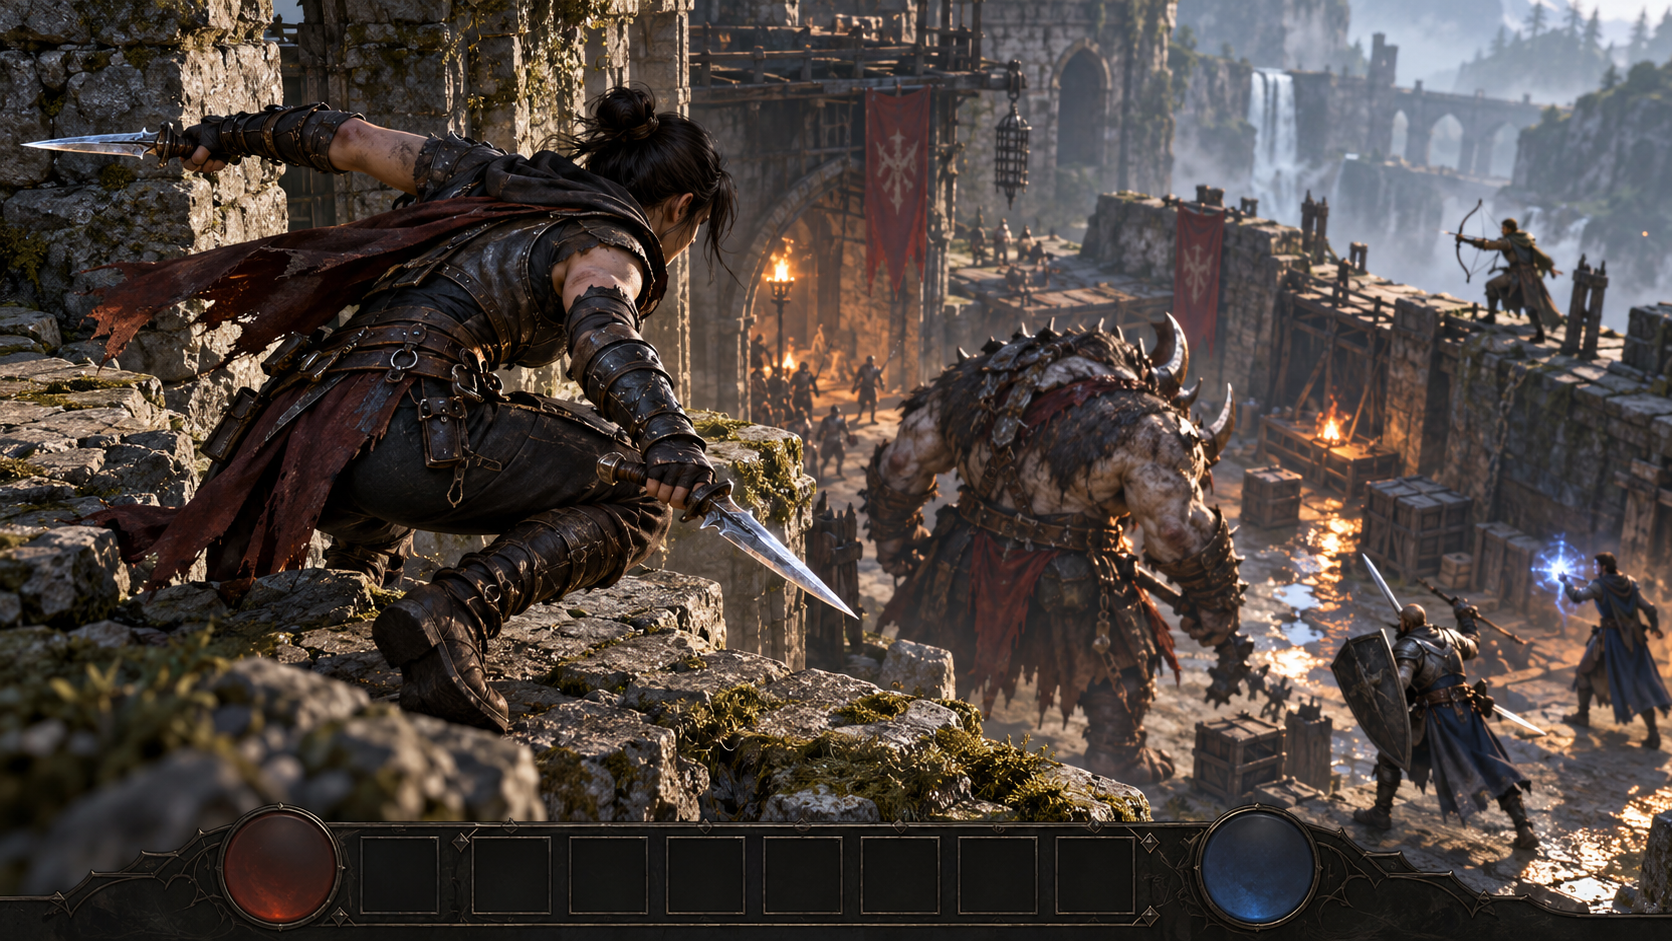
Dragon’s Dogma 2: Dark Arisen Thief Build Plan
Build a Thief skill set around approach, damage and control while checking older recommendations against your installed game version.
Read Guide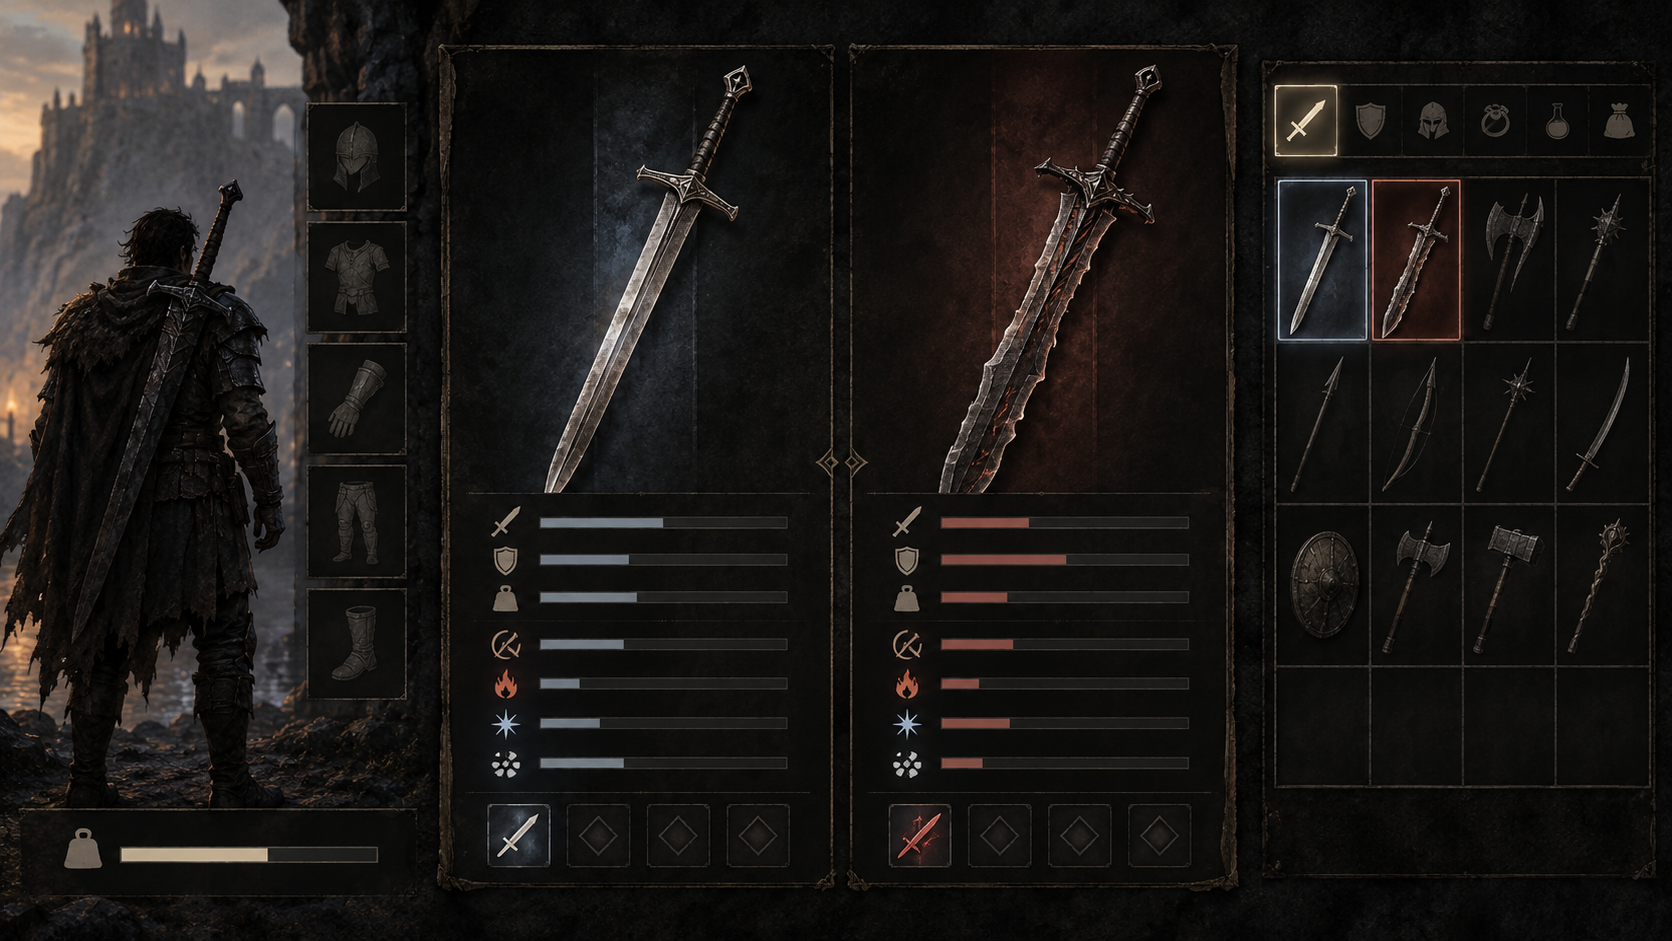
Dragon’s Dogma 2: Dark Arisen Gear Checklist
Compare weapons and armor by vocation, enhancement, relevant stats and weight before replacing equipment with a new relic appraisal result.
Read Guide